
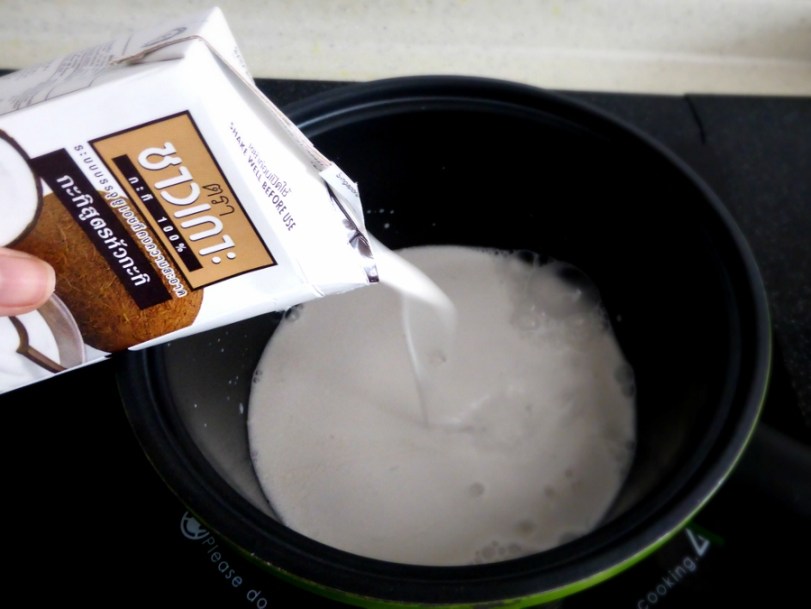
Yes, I made ice cream again because I have leftover whipping cream. I was considering hard about which flavour to try this time and I decided on coconut because I have a 250ml packet of Thai coconut cream lying around and of course, I love coconut ice cream!
I have a post dedicated to the best coconut ice creams in Singapore. It’s been a while since I found something new, so why not try making it myself, I thought.

Hungry Bird’s Thai Coconut Ice Cream
Ingredients:
- 250ml coconut cream
- 300ml whipping cream (35% fat)
- 100g sugar
- 5 egg yolks
Method:
Part 1 – Custard
- Place egg yolks and sugar and a mixing bowl.
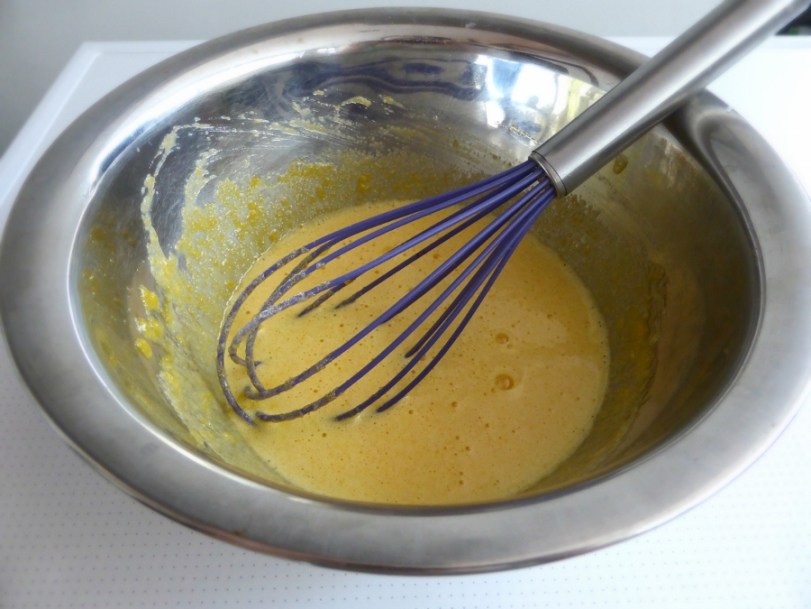
- Whisk egg yolks and sugar together until colour turns pale and mixture increases in volume.
- Over a saucepan, heat up coconut cream to around 65 – 70deg C, not boiling.
- Add a little bit of warm milk to egg yolk mixture while continuously whisking. Do not let the egg yolks scramble up. Gradually add all milk to egg yolk mixture to obtain a homogeneous custard.
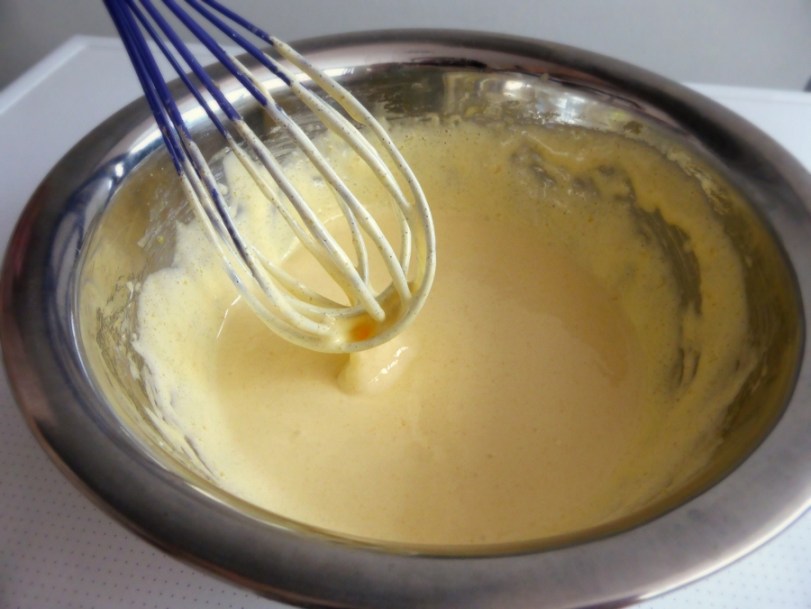
- Return custard to stove top and continue heating at 70 degs C. This will take time. Like maybe 20 minutes, 30 minutes even? Be patient.
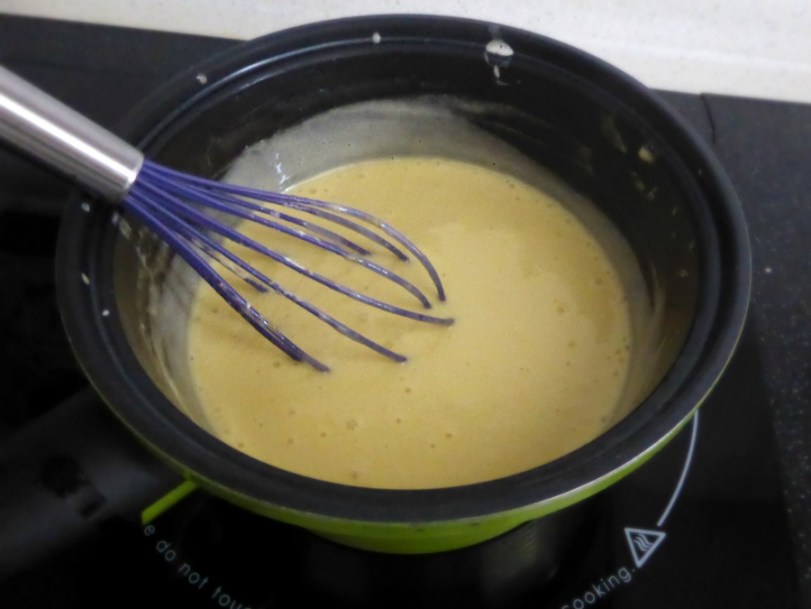
- Custard is ready when it is thick and coats the back of a spoon. You can try drawing a line and it should stay.

- Leave custard to cool, preferably to fridge temperature. You can place the bowl in an ice bath, in the fridge. Custard should be cooled as much as possible.
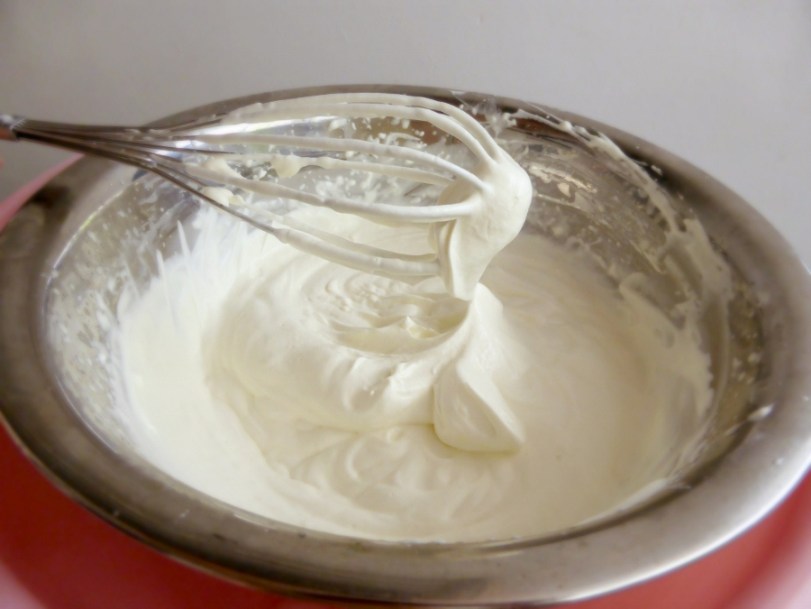
Part 2 – Whipped cream
- Place bowl, whisk (or beater of electric mixer) in the fridge or freezer to cool for at least 10 minutes before use.
- Prepare an ice bath. Place bowl above ice bath and pour in whipping cream. Whipping cream should be at fridge temperature before use.
- Whip the cream with hand whisk or electric mixer until soft peaks have formed. Do not overbeat as it will turn into butter and is irreversible.
Part 3 – Ice cream
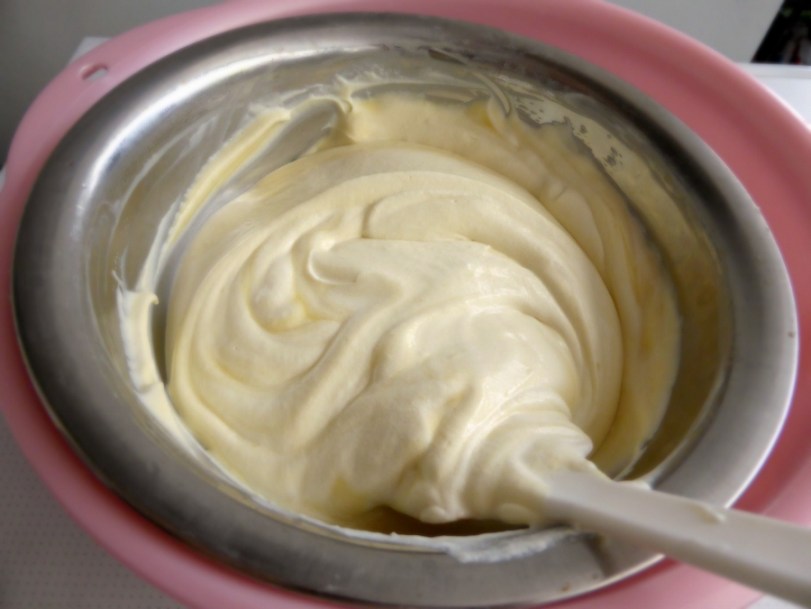
- Fold whipped cream into cooled custard until a homogeneous mixture is obtained. It will resemble a thick whipped cream mixture. Keep this mixture in the fridge and chill to as cold as possible before churning.

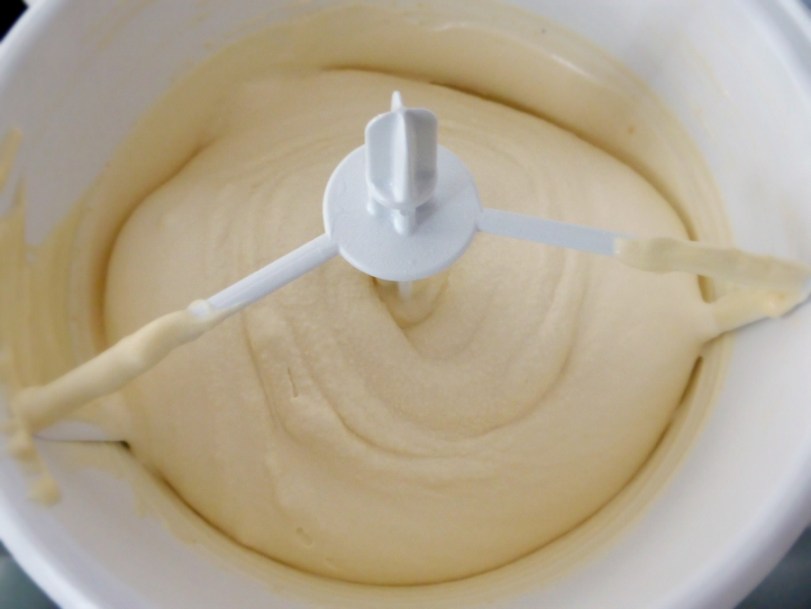
- Prepare ice cream maker and churn the ice cream according to manufacturer’s instructions.

- When churning is done, transfer the ice cream into a container with lid and let it freeze for a few hours.
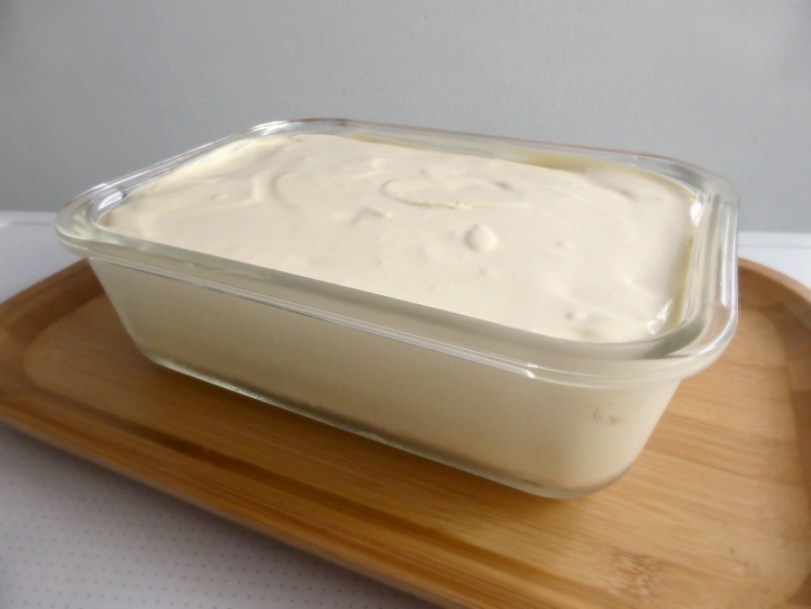
My final volume (due to whipping) turned out to be 800ml, perfect for this beautiful glass container.
Notes:
- You can choose to use raw sugar, brown sugar or any sugar you wish, maybe coconut sugar? However, sugar free is not recommended as the texture will change.
- Some recipes calls for no cream/ less cream and more milk. That’s like gelato, but I like mine to be creamy.
- Egg yolks are necessary to hold it together. Do not trust recipes without egg yolks.
- To prevent ice cream from being icy, make sure that your ice cream mixture is chilled to as cold as possible before churning. You need the ice cream to freeze as fast as possible in order to reduce iciness in the texture. For most homemade machines, it will not produce results as good as a professional one because the machine can’t be as cold. But try your best.
- Do not exceed the recommended volume for your ice cream maker. Don’t be greedy.
- The ice bath for whipping cream and cooling the custard is necessary. If you have cooling packs, it may work even better than ice.
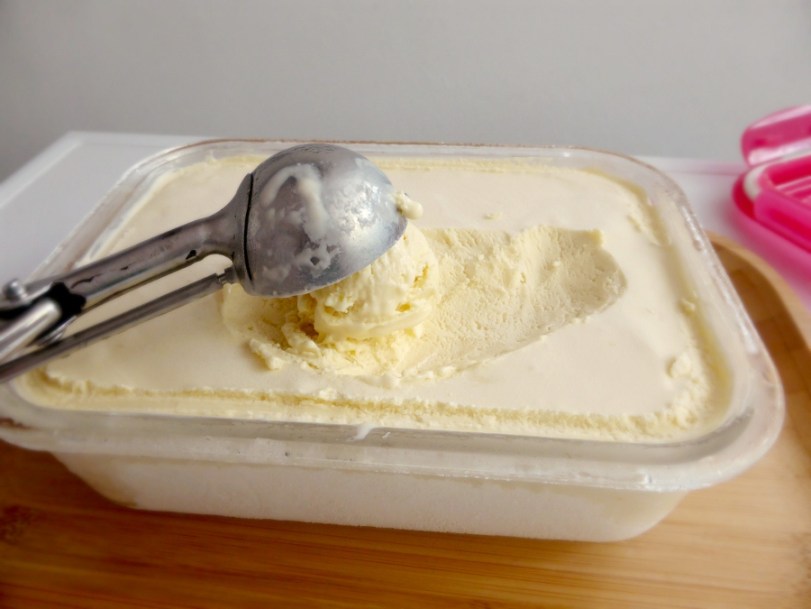

For a stronger coconut taste, I would increase the coconut cream and reduce the whipping cream next time. Sweetness was just right for me. I might try with coconut sugar next time!

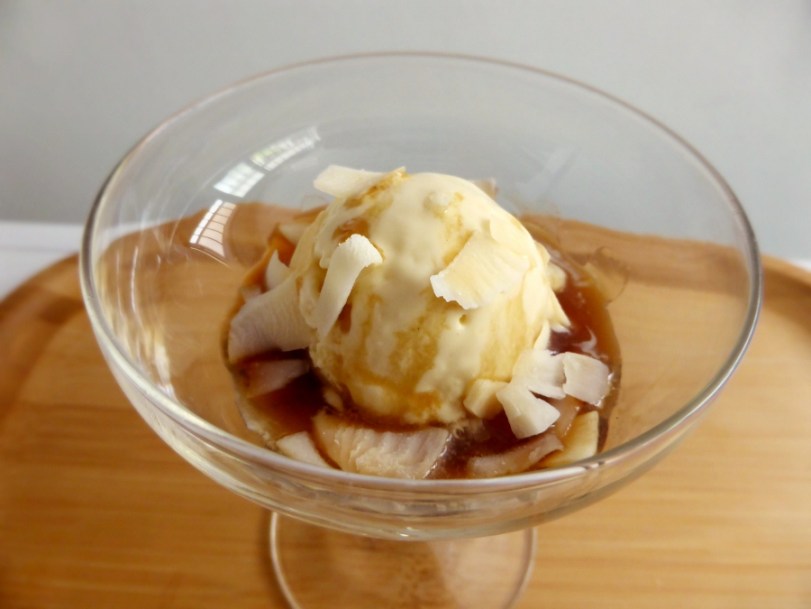
Tastes so good with gula melaka syrup and crispy Thai coconut chips.

It can also be used to create a Chendol inspired sundae!
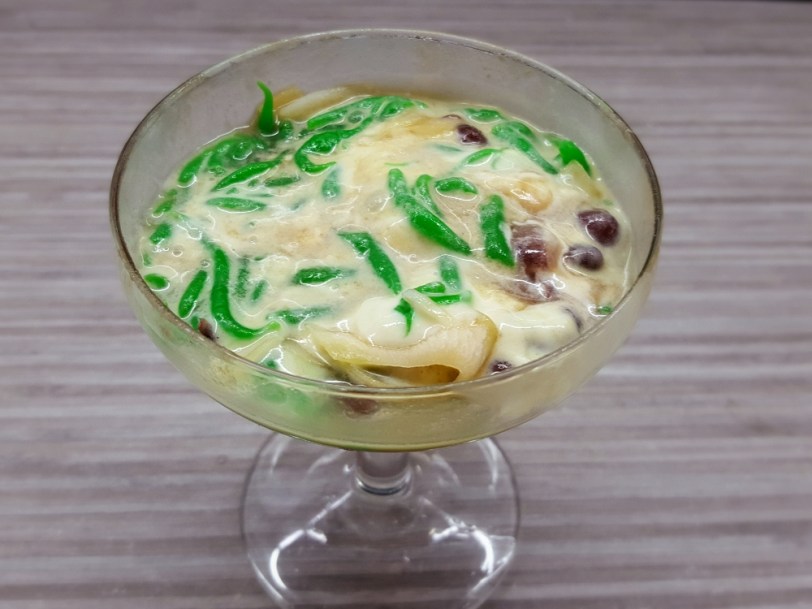
Chendol jelly, Hokkaido azuki beans, gula melaka syrup and crispy coconut chips.
